MUNBYN 2 3000 Labels/4 Rolls Color Circle Thermal Stickers Label
WARM TIPS:
Because different brands of printers' default label paper size may be slightly different.
Before use, you can let the printer do a simple calibration action to identify the label paper you purchased to prevent paper jams.
The label size calibration steps are as follows:
1, Load at least 4 consecutive sheets of label into the printer.
2, Turn on the printer
3, Press the FEED button and hold on
4, Release the button when you hear one 'Di' sound.
5, Then, the printer will calibrate the label size and properties.
Product Description:
MUNBYN multifunctional thermal sticker label
Authentic MUNBYN Labels--2 Round thermal sticker (750 Labels/Roll, 4 Rolls).The label suit for thermal printer printing use, handwritable. No Ink Toner or Ribbons Needed!
The thermal label sticker can be used for thank you sticker, brand design, diy design, QR code printer label, classification labels, product description labels,laboratory serial number tags, etc.
More usage scenarios are waiting for you to discover.
Q: Can zebra use this?
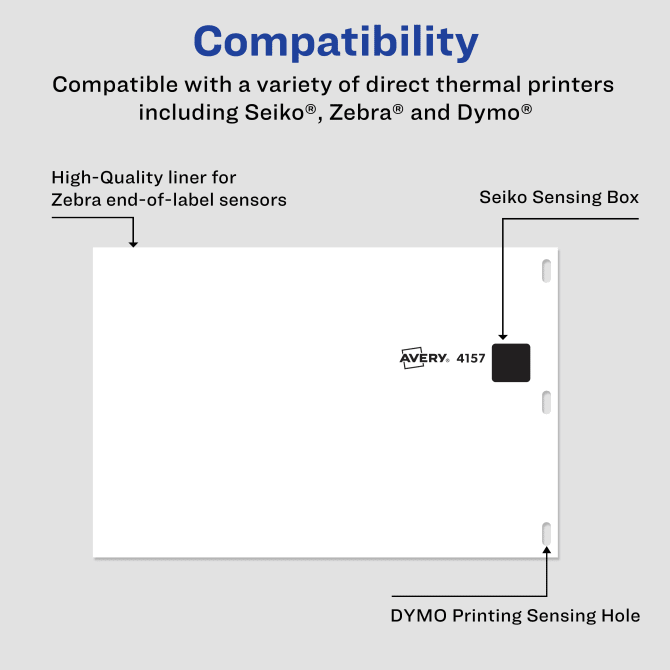
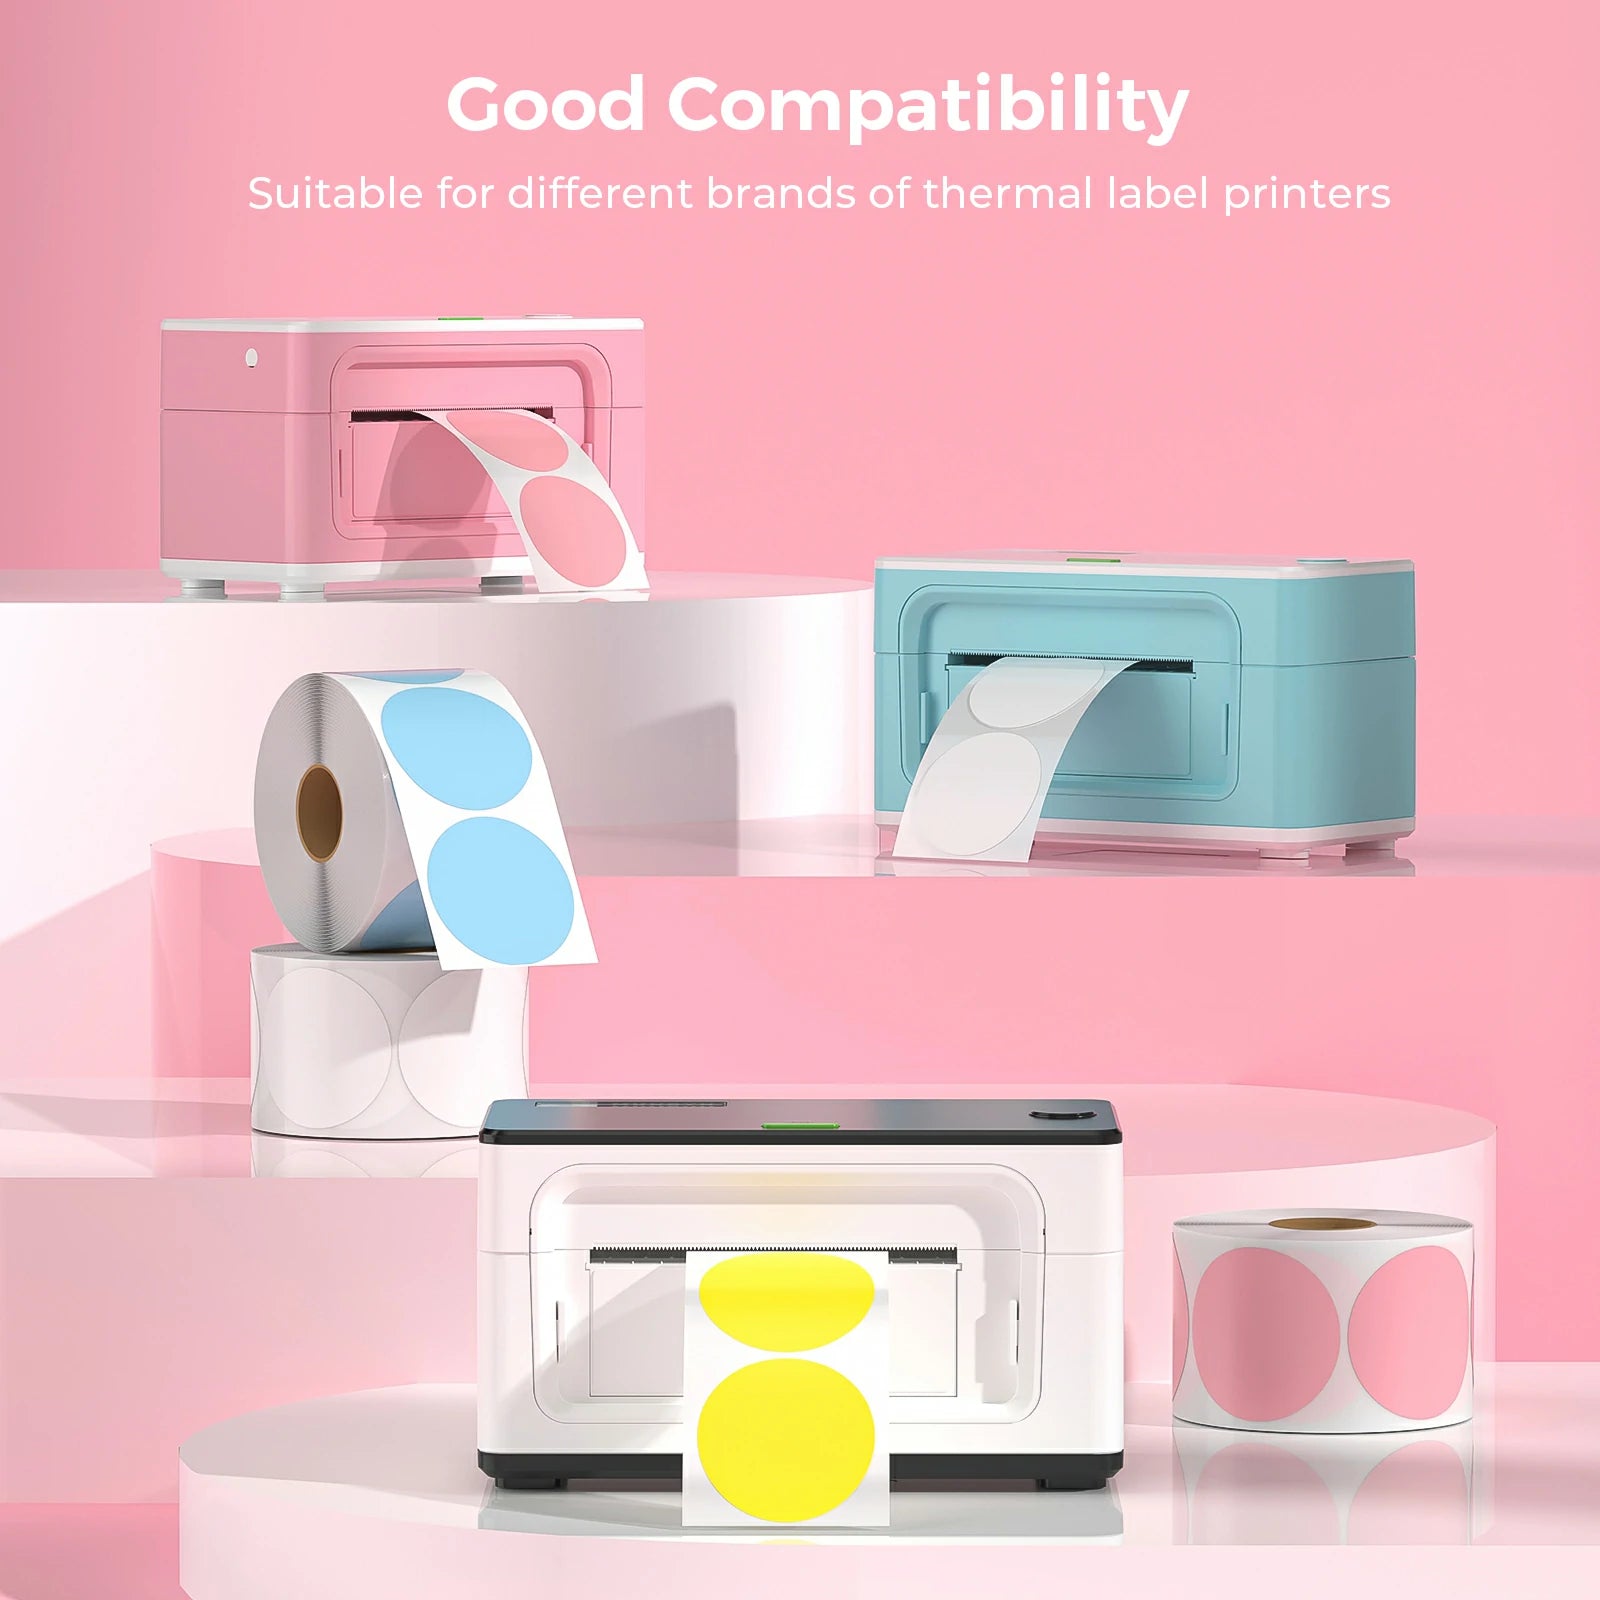
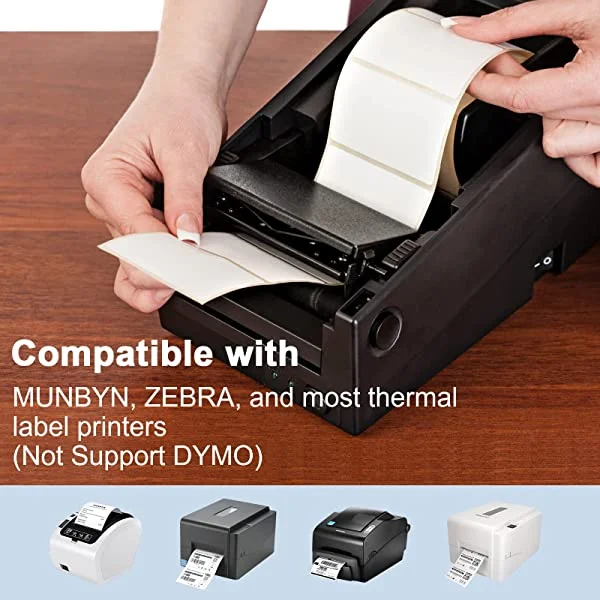
A: Yes, as long as your printer is a thermal printer and the print head width can be adjusted to 2, it can be used, but it does not support DYMO, because there is no print identification hole.
Q: Can this be used to mark the brand name, I want to put it on the gift wrap?
A: Sure, this can also print barcodes, addresses, classification marks. You can print it to whatever you want, as long as it can be adjusted to a suitable size.
Q: Are there any perforations between each of these labels? Will it be hard to tear apart?
A: A dense separation hole is set between the label paper, which can help you tear off each label easily.
Q: Can be written directly on it?
A: Yes, it supports gel pens. After the ink dries, it can be used normally without fading easil
Official notes:
The first step before your use
Let the machine adapt to the size of the label
1, Load at least 4 consecutive sheets of label into the printer.
2, Turn on the printer.
3, Press the FEED button and hold on.
4, Release the button when you hear one 'Di' sound.
5, Then, the printer will calibrate the label size and properties.